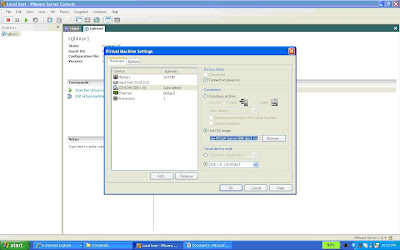
For RAC11g Configuration First we need to Add the Shared Disks and an additional Network Card (to handle private network for interconnect). Select "Edit Virtual Machine from VMWare Server Console". A new pop-up windows of Virtual Machine Settings will come. Select Add to "Add New Hardware". Select "Ethernet Adpater" to configure private Interconnect (2nd NIC or Ethernet Card). Select "Next" to go for next screen of "Network Type" and Select option as "Host-Only:A private network shared with the host". Please verify that "connect at power on" should be selected.
Again start the "New Hardware Wizard" to configure Disk for RAC11g Configuration.
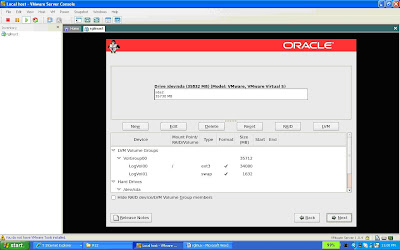
You need to configure based on below information provided for database file,OCR and Voting disk.
Disk Table
Select "Hard Disk" to add a new Hard Disk. Click on "Next" to go to next screen to select a Disk. Select "Create a new Virtual Disk" then Select Disk Type as "SCSI". Click on "Next" to go to next screen to allocate Disk Space mentioned above for Database files. Please select "Allocate all disk space now" option to configure these disks. On next screen Specify data file please give name of this disk as "datadisk1.vmdk" and browse the path to share directory under "C:\vms\RAC\ASM11g\share" to save this file. Once the Disk is create then select the same harddisk and click on Advanced configuration to change the virtual device node as mentioned above in "Disk Table". Change Virtual Device node from existing value to SCSI 1:0. and select "Indepedent" and "persistent" disk option. You can repeat this step for all other disk to configure disk for RAC11g configuration.
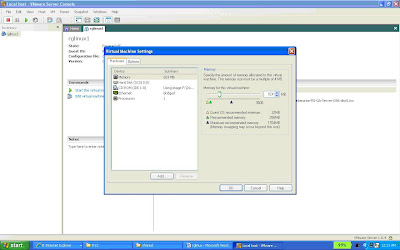
When all disk are configured. Close the "Virtual Machine Settings" to confirm the changes to Virtual Machine configuration file.Now edit the virtual machine confiuration file (i.e, Red Hat Enterprise Linux 4) and the parameters where # sign is shown. Remove this # sign to use these parameters as part of you configuration file.
Configuration File - Start Here
config.version = "8"
virtualHW.version = "4"
numvcpus = "2"
scsi0.present = "TRUE"
scsi0.virtualDev = "lsilogic"
memsize = "900"
scsi0:0.present = "TRUE"
scsi0:0.fileName = "localdisk.vmdk"
ide1:0.present = "TRUE"
ide1:0.fileName = "D:"
ide1:0.deviceType = "cdrom-raw"
floppy0.present = "FALSE"
Ethernet0.present = "TRUE"
displayName = "ASM_11gRAC1"
guestOS = "rhel4"
priority.grabbed = "normal"
priority.ungrabbed = "normal"
#disk.locking = "FALSE"
#diskLib.dataCacheMaxSize = "0"
#diskLib.dataCacheMaxReadAheadSize = "0"
#diskLib.dataCacheMinReadAheadSize = "0"
#diskLib.dataCachePageSize = "0"
#scsi1.sharedBus = "virtual"
scsi1.present = "TRUE"
scsi1:0.present = "TRUE"
scsi1:0.fileName = "C:\vms\ASM11g\share\datadisk1.vmdk"
scsi1:0.mode = "independent-persistent"
#scsi1:0.deviceType = "disk"
scsi1:1.present = "TRUE"
scsi1:1.fileName = "C:\vms\RAC\ASM11g\share\datadisk2.vmdk"
scsi1:1.mode = "independent-persistent"
#scsi1:1.deviceType = "disk"
scsi1:2.present = "TRUE"
scsi1:2.fileName = "C:\vms\RAC\ASM11g\share\datadisk3.vmdk"
scsi1:2.mode = "independent-persistent"
#scsi1:2.deviceType = "disk"
scsi1:3.present = "TRUE"
scsi1:3.fileName = "C:\vms\RAC\ASM11g\share\ocrdisk.vmdk"
scsi1:3.mode = "independent-persistent"
#scsi1:3.deviceType = "disk"
scsi1:4.present = "TRUE"
scsi1:4.fileName = "C:\vms\RAC\ASM11g\share\votingdisk.vmdk"
scsi1:4.mode = "independent-persistent"
#scsi1:4.deviceType = "disk"
scsi1.virtualDev = "lsilogic"
ide1:0.autodetect = "FALSE"
Ethernet1.present = "TRUE"
Ethernet1.connectionType = "hostonly"
scsi0:0.redo = ""
scsi1:0.redo = ""
scsi1:1.redo = ""
scsi1:2.redo = ""
scsi1:3.redo = ""
scsi1:4.redo = ""
ethernet0.addressType = "generated"
ethernet1.addressType = "generated"
uuid.location = "56 4d f6 04 91 f9 39 2c-b9 3f 19 f1 c4 af 8a 39"
uuid.bios = "56 4d f6 04 91 f9 39 2c-b9 3f 19 f1 c4 af 8a 39"
ethernet0.generatedAddress = "00:0c:29:af:8a:39"
ethernet0.generatedAddressOffset = "0"
ethernet1.generatedAddress = "00:0c:29:af:8a:43"
ethernet1.generatedAddressOffset = "10"
ide1:0.startConnected = "TRUE"
tools.syncTime = "TRUE"
workingDir = "."
Configuration File - End Here
Linux Installation - Start Here
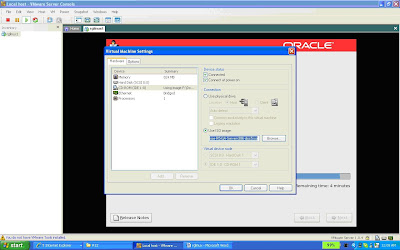
"Edit The Virtual Machine Setting" under VMWare Server Controls
Select The "CD-ROM" under Hardware Tab
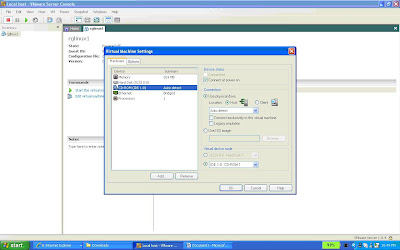
Change the Connection on right Pane of CD-ROM from Use Physical Drive to Use ISO Image. You can place you Linux ISO Image on your Hard Drive Or copy the ISO Image on CD-ROM. I Staged the Oracle Enterprise Linux on my Hard Drive C:\Software.
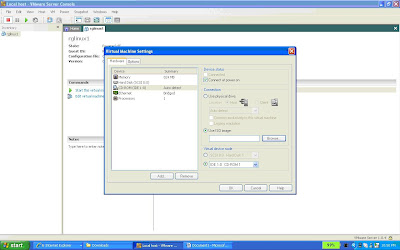
Select the Second option "Use ISO Image" under Connection.
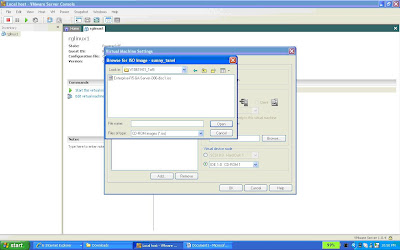
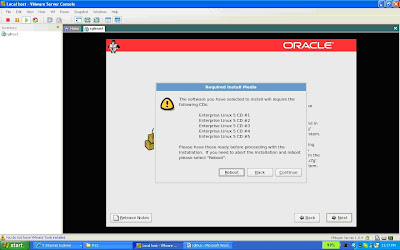
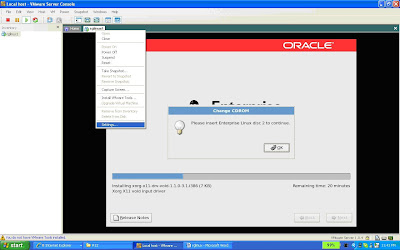
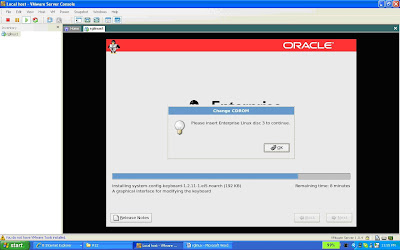
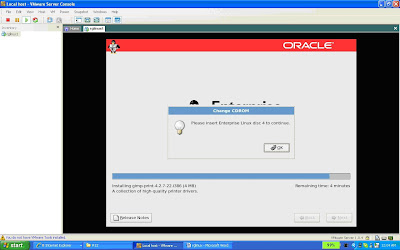
Browse the First ISO Image of Oracle Enterprise Linux (disc1) under "Use ISO Image" and Click on "OK"
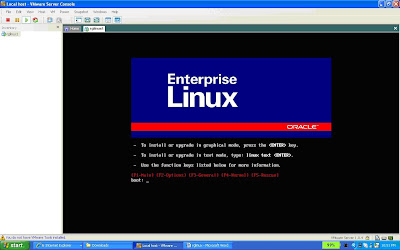
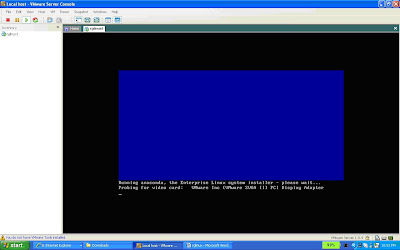
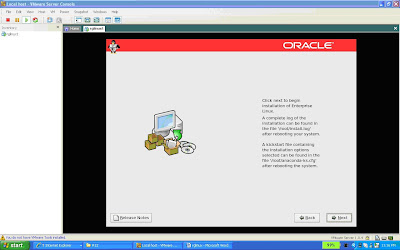
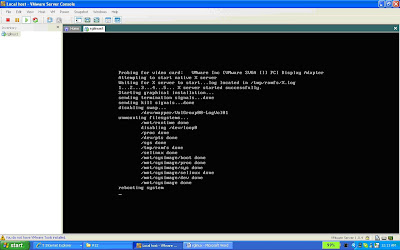
Click on "Start this Virtual Machine and You will see Linux boot: Prompt. Press Enter to Continue with Linux Installation.
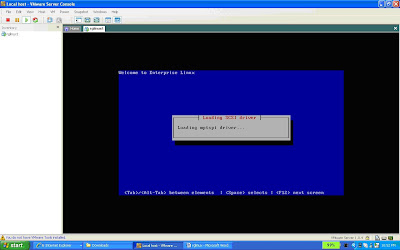
Linux Driver Installation Screen
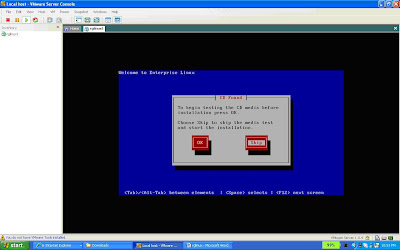
Linux O/S is test CD on this step. Press Tab to Skip this test
Probing for Video Card
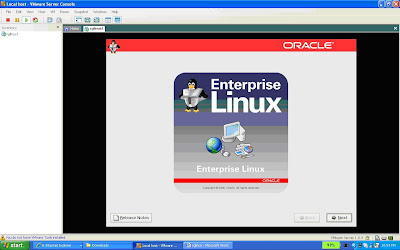
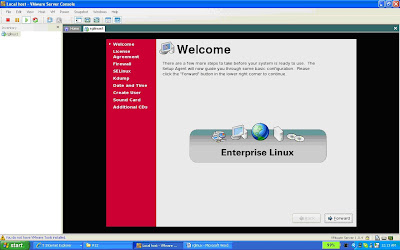
Click Next to Continue with Linux Installation
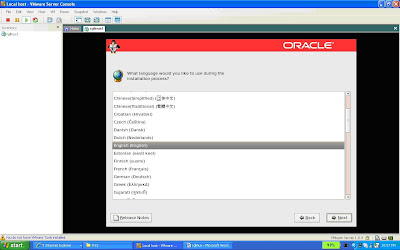
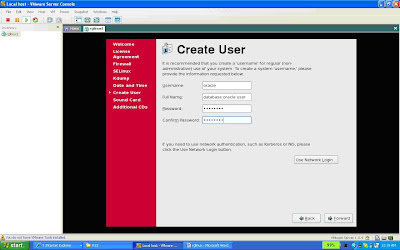
Linux O/S Language Selection - By Default "English(English)"
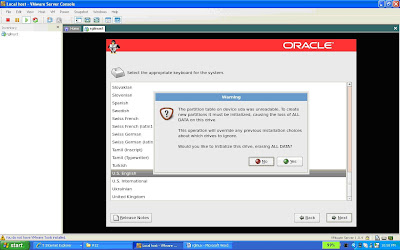
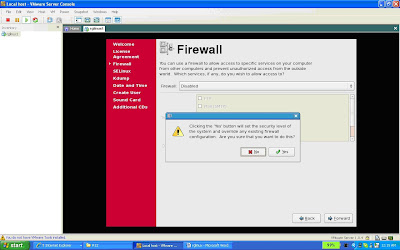
Select appropriate Keyboard for the System (U.S English). Click "Next" and a Warning Message will display. Press "Yes" to Continue.

Keep Default selection on this page and Select "Next" to Continue with Linux Installation.


1 comment:
Post a Comment